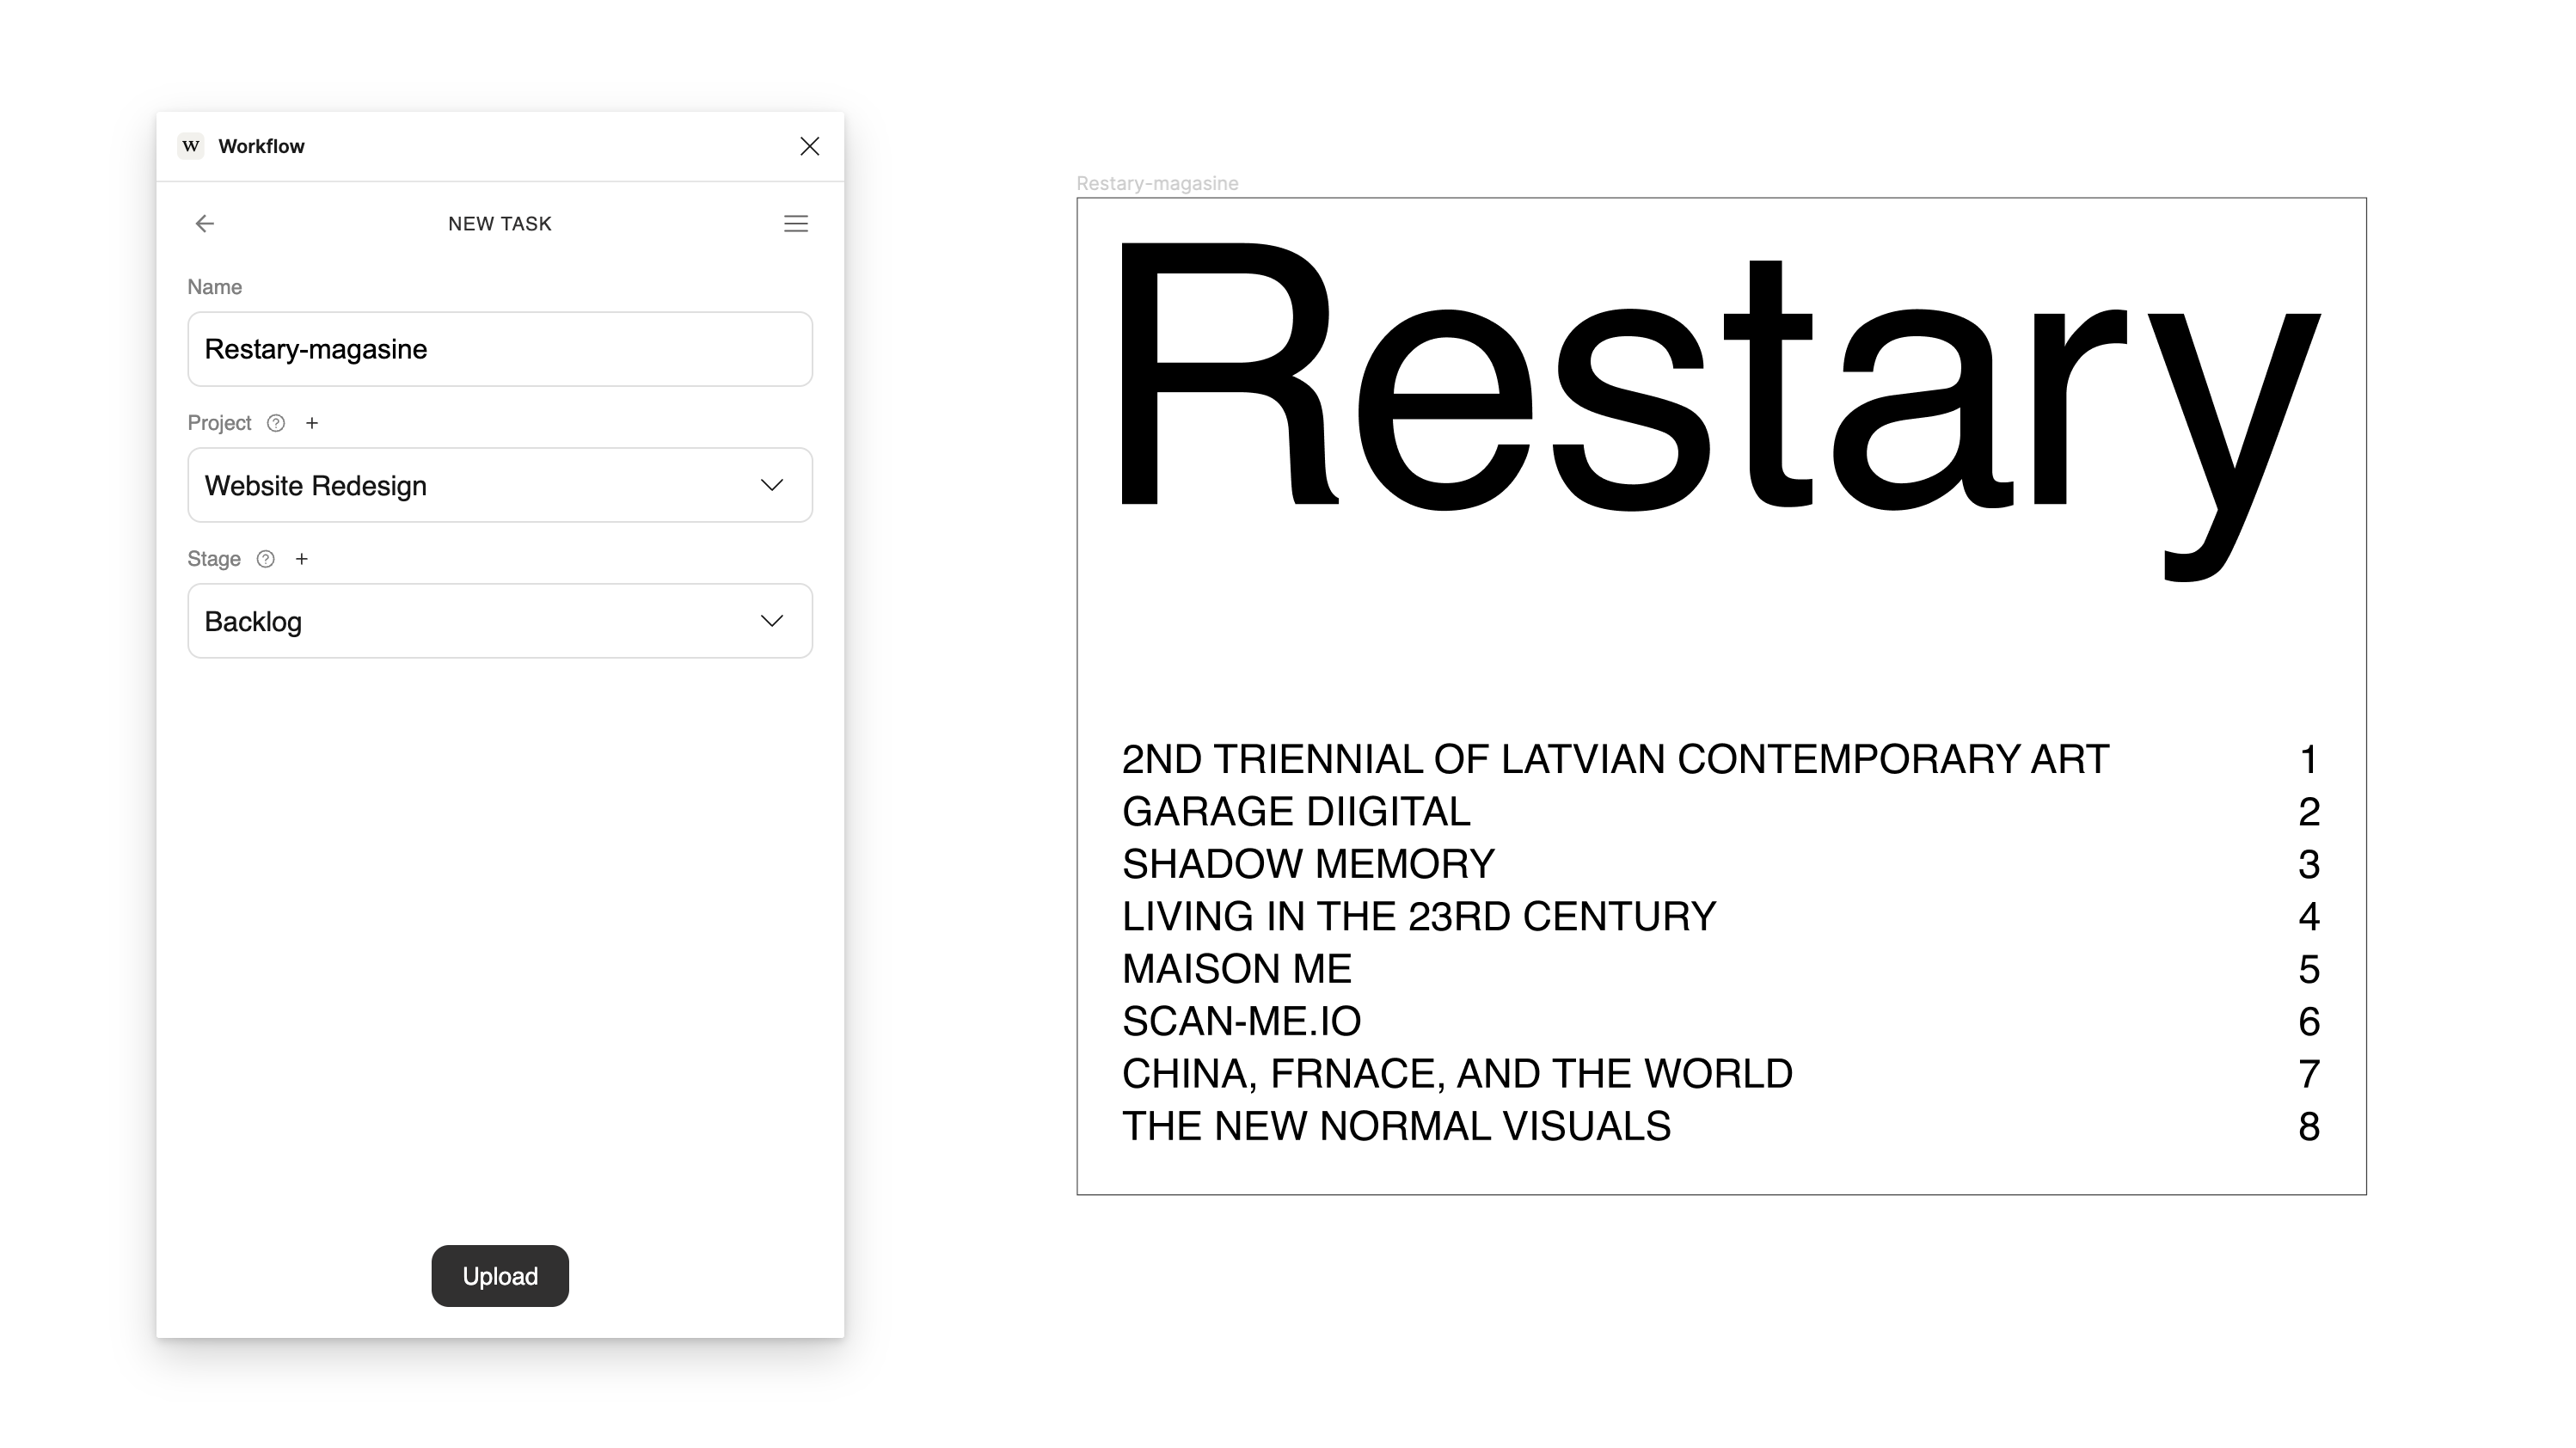
Skip to main content The Workflow Figma plugin lets you attach specific Figma frames to a Workflow task. Others can then view the frames directly from the task, and comment directly on them. Comments added in Workflow are automatically sent back to your Figma files
Install the Figma plugin
By uploading specific frames, you ensure that your reviewer sees exactly what you want them to see, while hiding the rest of your Figma canvas.
Using the Plugin
To use the plugin:
- Open your Figma file, and select the frames you want to share.
- Navigate to ‘Plugins’ on the top menu and select ‘Workflow.’ Alternatively, open the Figma command bar with
Cmd + P (Mac) or Ctrl + P (Windows), and type ‘Workflow’.
- In the plugin window, choose the selected frames and click ‘Next’ or press ‘Enter’.
- Choose an existing task to add the frames to, or create a new one.
- Share the link.
- Comments added in Workflow are automatically sent back to your Figma files
 The Workflow Figma plugin lets you attach specific Figma frames to a Workflow task. Others can then view the frames directly from the task, and comment directly on them. Comments added in Workflow are automatically sent back to your Figma files
Install the Figma plugin
By uploading specific frames, you ensure that your reviewer sees exactly what you want them to see, while hiding the rest of your Figma canvas.

